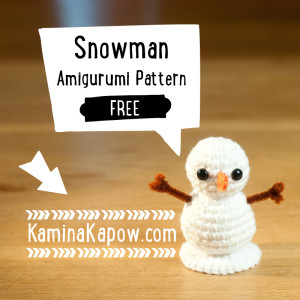
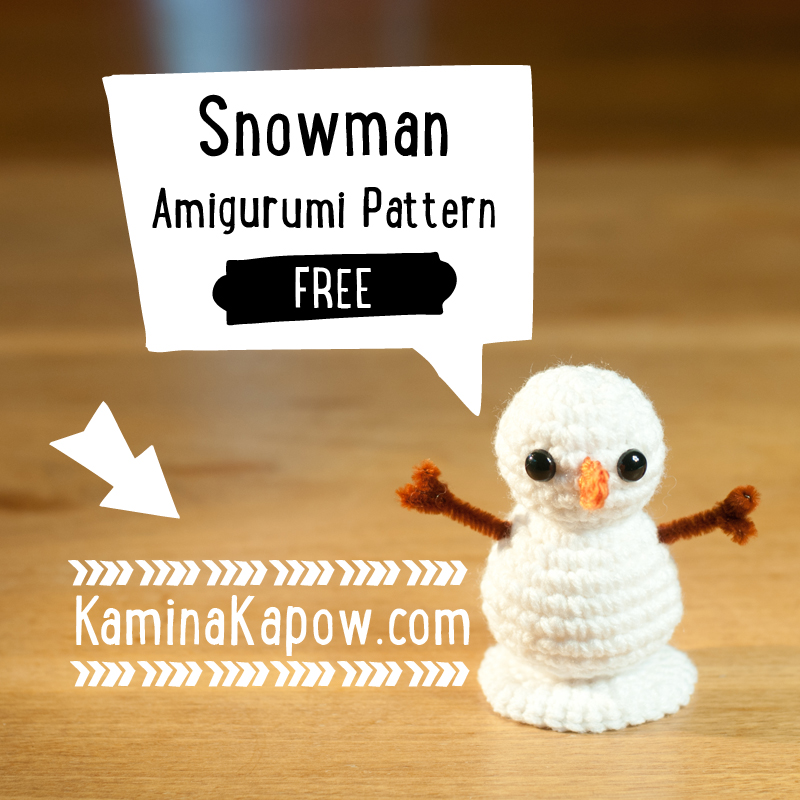
 Hello Crafters. This is my first time sharing a pattern I’ve created. Tell me in the comments how it worked for you. If you like the pattern I’d appreciate it if you share this page on pinterest and/or link back to my site or my instagram @kaminakapow.
You need to know how to crochet in the amigurumi style for this pattern.
Finished size: About 3.5 inches
Skill Level: EASY
Materials Used:
Scissors
yarn needle
3.75mm (F) hook
9mm safety eyes
half of a brown pipe cleaner
White and orange yarn in worsted weight
I used Red Heart (white) and Red Heart Soft (tangerine)
Stuffing
Stitches:
MR – Magic Ring
CH – Chain
Sl St – Slip stitch
SC – Single crochet
INC – increase
DEC – decrease (I always use the invisible decrease technique)
My shorthand translated to longhand using row 5 as the example:
Shorthand row 5: 4, INC, 10, INC, 4 (22)
Longhand row 5: single crochet 4 times, increase in next, single crochet 10 times, increase in next, single crochet 4 times. (when finished there are 22 stitches on this row)
Pattern:
BODY
Starting at the top of the head with white
1. MR, 6 SC in ring (6)
2. INC in each (12)
3. 1, INC, 2, INC, 2, INC, 2, INC, 1 (16)
4. 3, INC, 3, INC, 3, INC, 3, INC (20)
5. 4, INC, 10, INC, 4 (22)
6. SC around (22)
7. 4, DEC, 10, DEC, 4 (20)
8. DEC, 3, DEC, 3, DEC, 3, DEC, 3 (16)
9. 1, DEC, 2, DEC, 2, DEC, 2, DEC, 1 (12)
10. 1, INC, 2, INC, 1, INC, 2, INC, 1, INC (17)
11. 2, INC, 3, INC, 3, INC, 3, INC, 2 (21)
12. 3, INC, 6, INC, 6, INC, 3 (24)
13. 10, INC, 13 (25)
14. SC around (25)
15. 13, DEC, 10 (24)
16. 3, DEC, 6, DEC, 6, DEC, 3 (21)
17. 2, DEC, 3, DEC, 3, DEC, 3, DEC, 2 (17)
18. DEC, 1, DEC, 2, DEC, 1, DEC, 2, DEC, 1 (12)
Leave a long tail for sewing.
Put eyes in between the 5th and 6th row. I placed them with 3 empty spaces between the eyes.
NOSE
1. Ch 5, turn
2. starting at 2nd from hook, sl st in first 2, SC in last 2
Sew nose on between eyes. I lined the top of the nose up with the top of the eyes.
BASE
1. MR, 6 SC in ring (6)
2. (1, INC) repeat around (9)
3. (2, INC) repeat around (12)
4. (3, INC) repeat around (15)
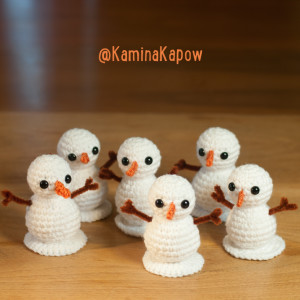 The base curls a bit. Pay attention to which direction it curls and sew it on according to your preference. In this photo of 6 snowmen, half of them have the base sewn on curling up, and half of them have the base sewn on curling down.
Stuff the body and sew it to the base. Fold the end of a pipe cleaner over so the end is soft and won’t catch on the stuffing. Push the pipe cleaner through the body and out the other side, leaving an equal size of pipe cleaner on each side of the body. I made the hands by folding the end over, and then folding that back halfway. Use your yarn needle to sew in any loose ends.
Optional: To give the body a more distinct shape, I take a piece of leftover white string and tie it tight around the neck with a double knot. The ends are sewn into the body.
All rights reserved.

Pattern looks great and simple to do. Must try this one. My snowmen are taller and less stable – like the “melted” part..
Praise the L0rd 🕆
Ty, s0 very much 4 pattern, I’ll d0 my best & s0 y0u finished sn0wman.
I’ll als0 get a Cr0chet-lap blanket pattern I made-up.
As s00n as I get settled n new apt.
L0ve Shal0m
ł Lana Snook (Barnes)
I love these. I am going to add a rope to the top and give them to the kids I teach as a Christmas ornament.
Cute idea!
Pingback: 10 Free Crochet Snowmen Patterns - Amanda Saladin
thanks for sharing!
Pingback: Crochet Amigurumi Snowmen Roundup - LoopinglyMade
Thanks for sharing!
I love these little snowmen, I’m going to make my grandchildren some.
Many thanks for sharing your pattern.
Glad you enjoyed it 😀
Pingback: Pattern Roundup - Top 10 Christmas Crochet Free Patterns ⋆ Yarnkittens
Pingback: 55 Easy Crochet Snowman Patterns Free - DIY & Crafts